

/image%2F2671538%2F20210419%2Fob_819872_img-0313.JPG)
Romanian style embroidery
Hello everyone!
Today I want to share with you my newest interest - cross-stitching. WooHoo! /throws confetti/ oh, i'll clean that ... later...

freestyle vs pattern
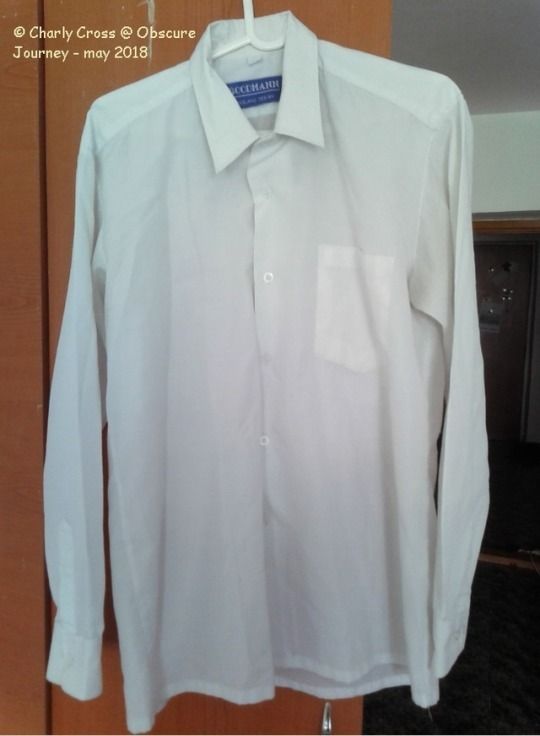
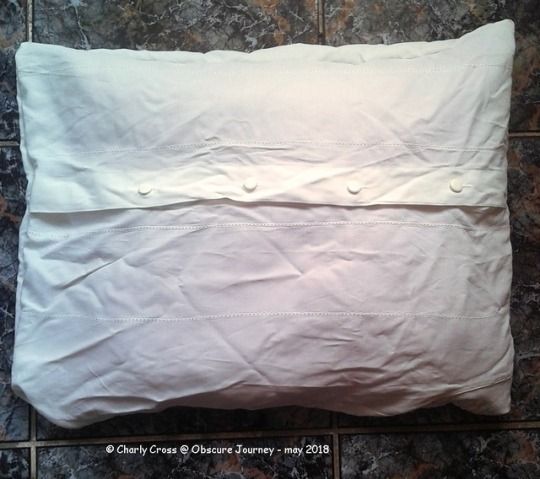
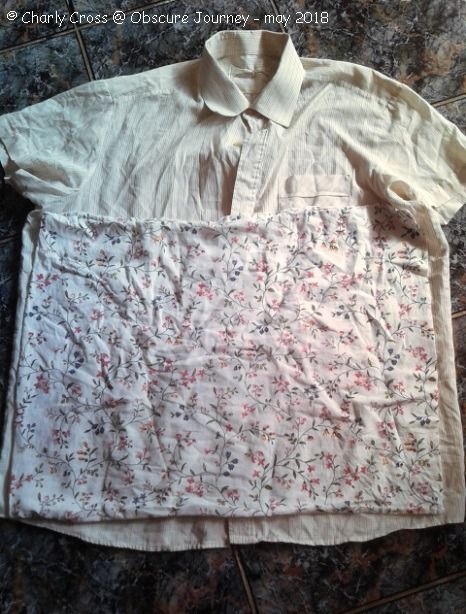
Cross stitching is something I didn't think i'd get into. But somehow it happened. The story is a bit longer than this. Back in 2015 I received this gigantic sheet for the inter blanket -duvet? I thought I can't possibly use it as it is, and i thought I could turn it into pillow cases. And therefore I started measuring, cutting and sewing -everything by hand.
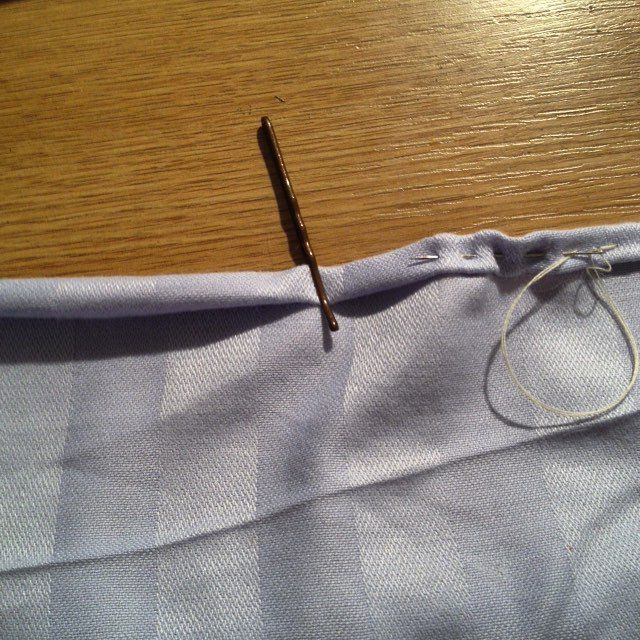
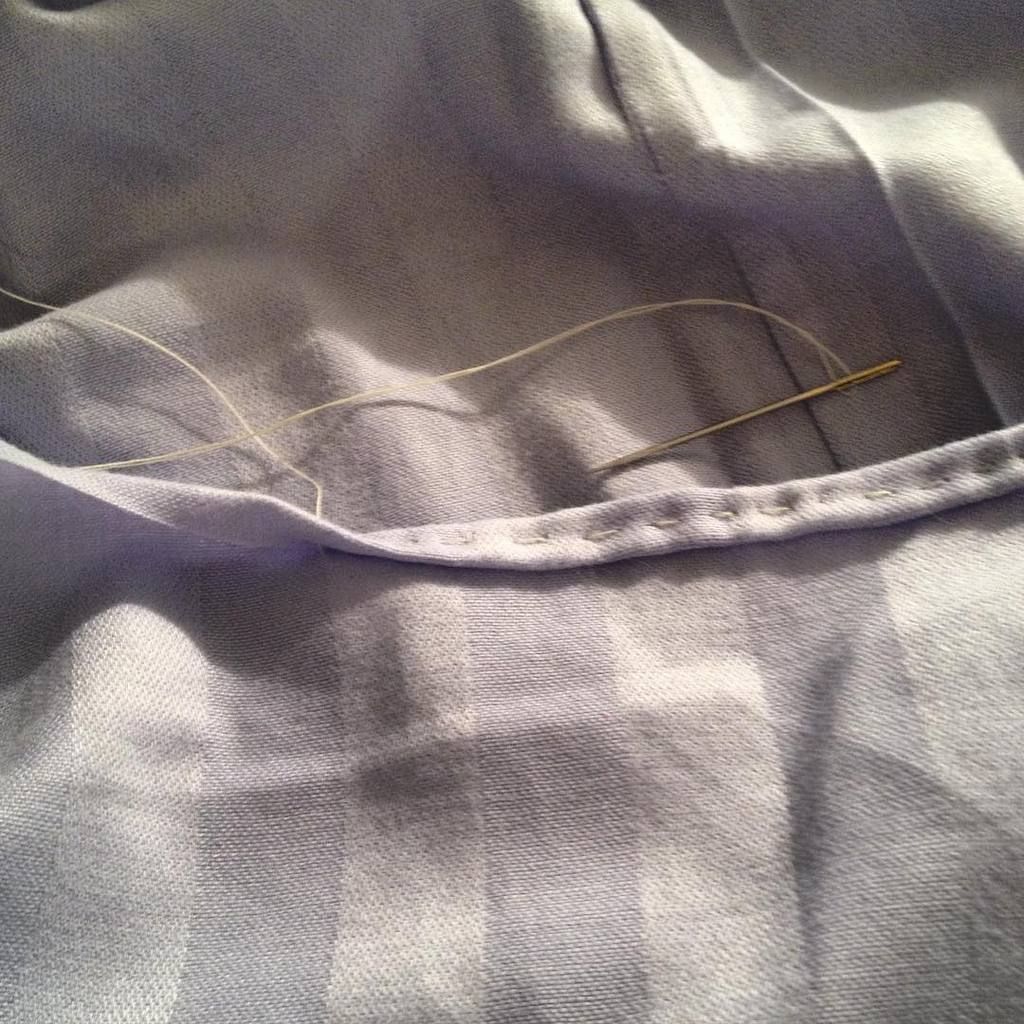
If you don't have a lot of resources, and you need to hem your cloth, you can use some hair pins to keep the fabric in place. I found this method easy to use and not to ruin the material. On top of this, you can simply slide the pin as you need to advance.
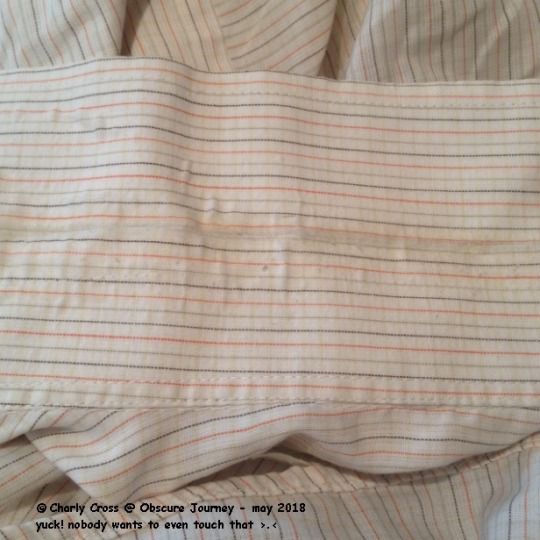
As a curiosity, i used a running stitch on the fabric i folded twice, and the stitch didn't get ruined in the laundry machine.
my pictures, from my instagram @secret.agent0101
I wanted to use traditional motifs, so i asked people i knew if they had something to help out. I needed both patterns and thread. Of course they did and they gave me a book with traditional patterns and a lot of thread as well.

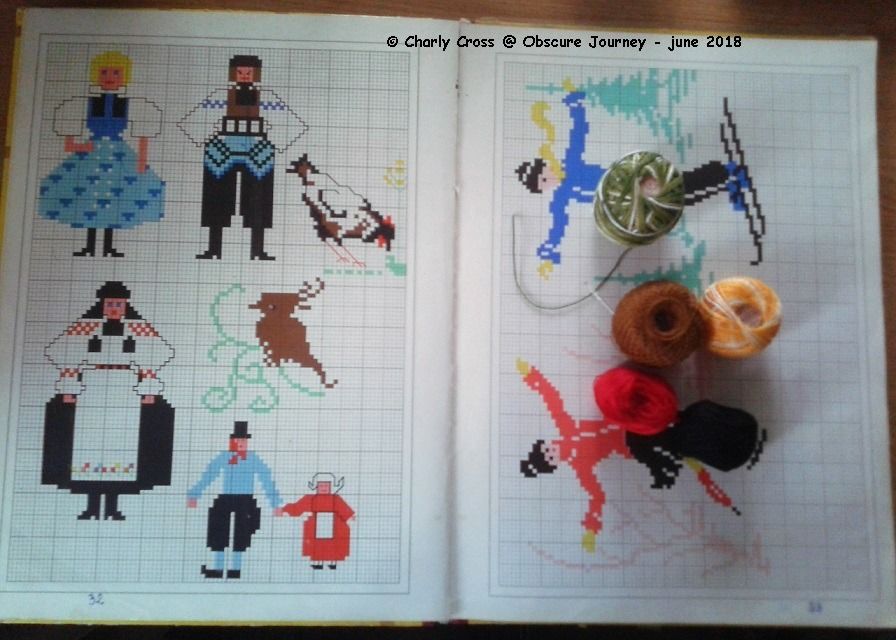

I flipped through the book to find a design that wasn't too complicated to replicate since I'm a beginner. And i found some that did looked easy, in a single color.
The one i decided on was all black and seemed easy enough. I copied it on paper using colored pencils, because i wanted some more colors on my pillow.
The next step was to make sure the colors looked ok together. They weren't bad and they look better in real life.
![i changed the design a bit more [3rd picture above]](https://img.over-blog-kiwi.com/2/67/15/38/20180706/ob_a38897_tumblr-patlhmuwar1u8vlf0o3-1280.jpg)
![i changed the design a bit more [3rd picture above]](https://img.over-blog-kiwi.com/2/67/15/38/20180706/ob_2852ce_tumblr-patlhmuwar1u8vlf0o4-1280.jpg)
![i changed the design a bit more [3rd picture above]](https://img.over-blog-kiwi.com/2/67/15/38/20180706/ob_7d3de1_tumblr-patlhmuwar1u8vlf0o1-540.jpg)
i changed the design a bit more [3rd picture above]
The design i chose is the one in the lower right corner, in the book. I also show you how you're supposed to embroider it, if you like it. It makes a really nice edge on stuff, if positioned right.
I thought that an all black design would look too rough, though it would have been easier to stitch.
Did you know that Romanians traditionally sew with red and black thread, on white cloth? White means purity, red means joy and black means life.
I wanted to have at least 1 traditional color in my traditional motif. And this is why i choose red.

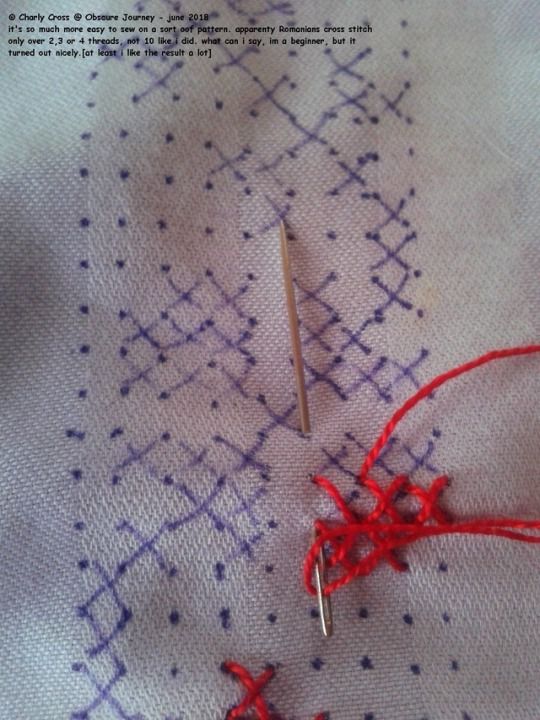
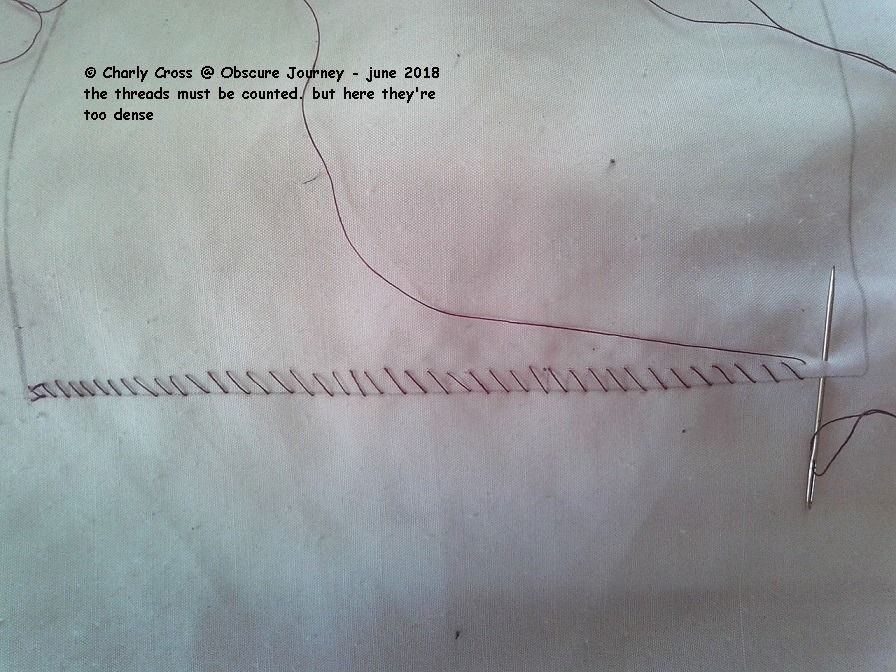
Since the cloth i decided to sew on in not easy to count the threads, i needed more visual help. I used a fountain pen. If you want to use the same method, make sure it's blue ink: red and black are staining the fabric and are more difficult to remove.
Of course, i sometimes messed up the guide. But it's ok as some of the errors got covered by some of the later stitches.
None of these patterns have instructions on how or where to start from, so I had to figure these aspects myself. I figured that stitching the wave first would be easier later when i decide to add the other elements in other colors.
However, drawing the guide [here the dots], then crossing the location of each stitch made my work even more easy. This allowed me to embroider whatever element I wanted first.
Refer to the 1st picture in the beginning and the 3rd picture above, if you want to see what happens when you don't count the thread of your fabric, when you're supposed to do so.
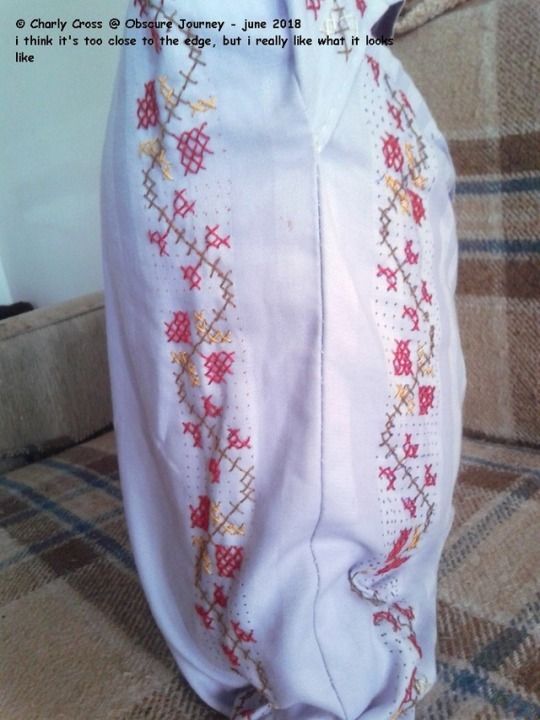

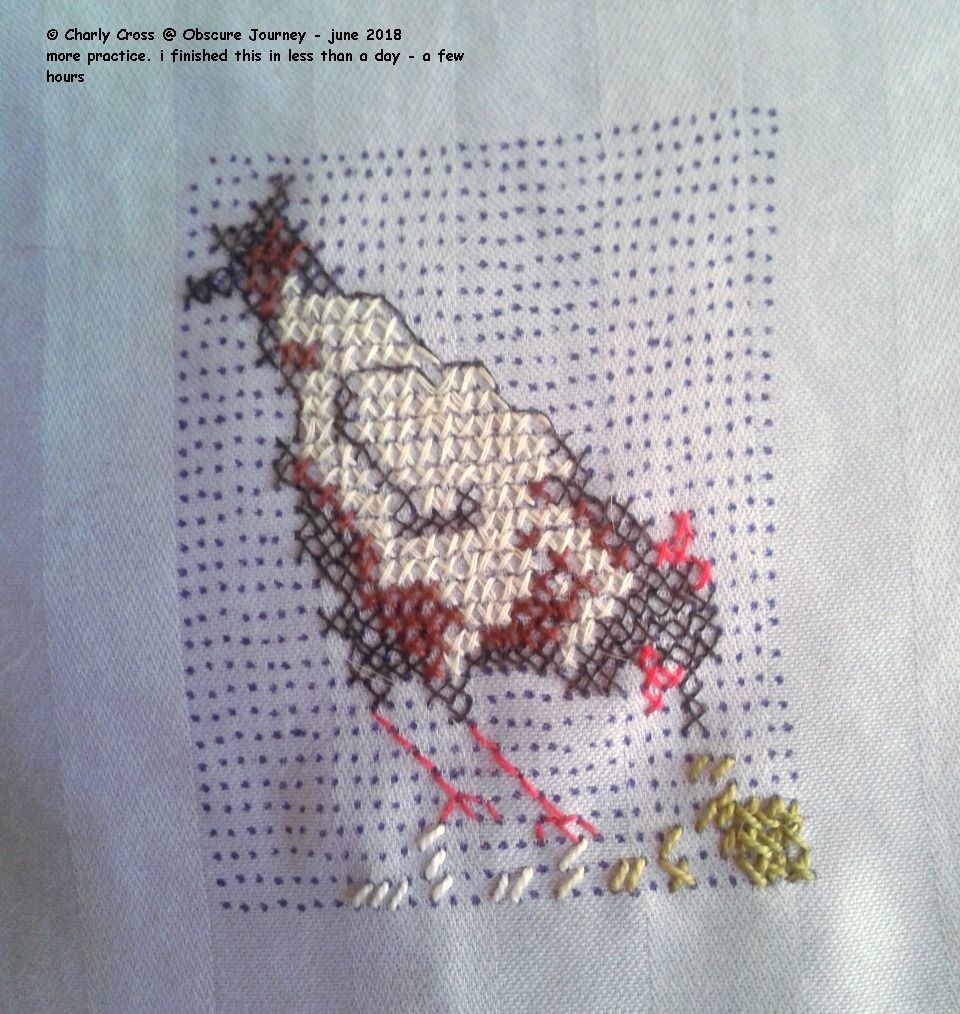
And above you can see the end result. I decided to embroider a hen eating grass as well. For that design i decided to use a piece of etamin fabric to trace a counted guide. it made my life quite easy, but for the size, i needed thinner thread.
I like what everything looks like. I will continue practicing my embroidering skills though.
© Charly Cross 2013 - present. All rights reserved.


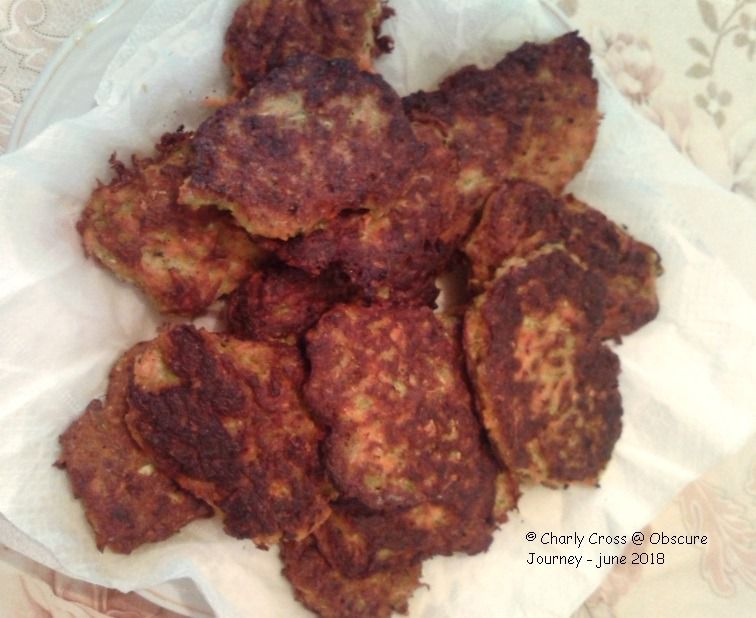
![time to fry in a bit of oil [about a spoon?]. Make sure they're evenly done on both sides. you can put as much as you want in a patty, but make sure to flatten it.](https://img.over-blog-kiwi.com/2/67/15/38/20180604/ob_fa075f_tumblr-p9tdfo2riv1u8vlf0o4-500.jpg)


/image%2F2671538%2F20180226%2Fob_f9c4d6_charly.png)