Overblog
Suivre ce blog Administration + Créer mon blog

Mac&Cheese recipe

Publié le par Charly C.

Towards the end of the month of November we decided to have some Mac and Cheese, but like the real deal. And yes, there is a non-real version too. So I asked A to search for the recipe as I never made this and I tend to just whip some dishes up, with no recipe and the result is not always good, as you can imagine. 

One of the things I need to improve is my willingness to follow recipes and the presentation. Sometimes I'm also under the impression the taste is not the one I imagine it to be. Since we have no reference point, we just have to think the food tastes good. However, the good news is that I plan on cooking more in 2019, even if I won't share everything I cook.

Enough babbling, on with the recipe! 

INGREDIENTS:

  • 250 g macaroni;
  • 125 g (real) butter;
  • 150 g cheese - we used a local cheese called "telemea" 
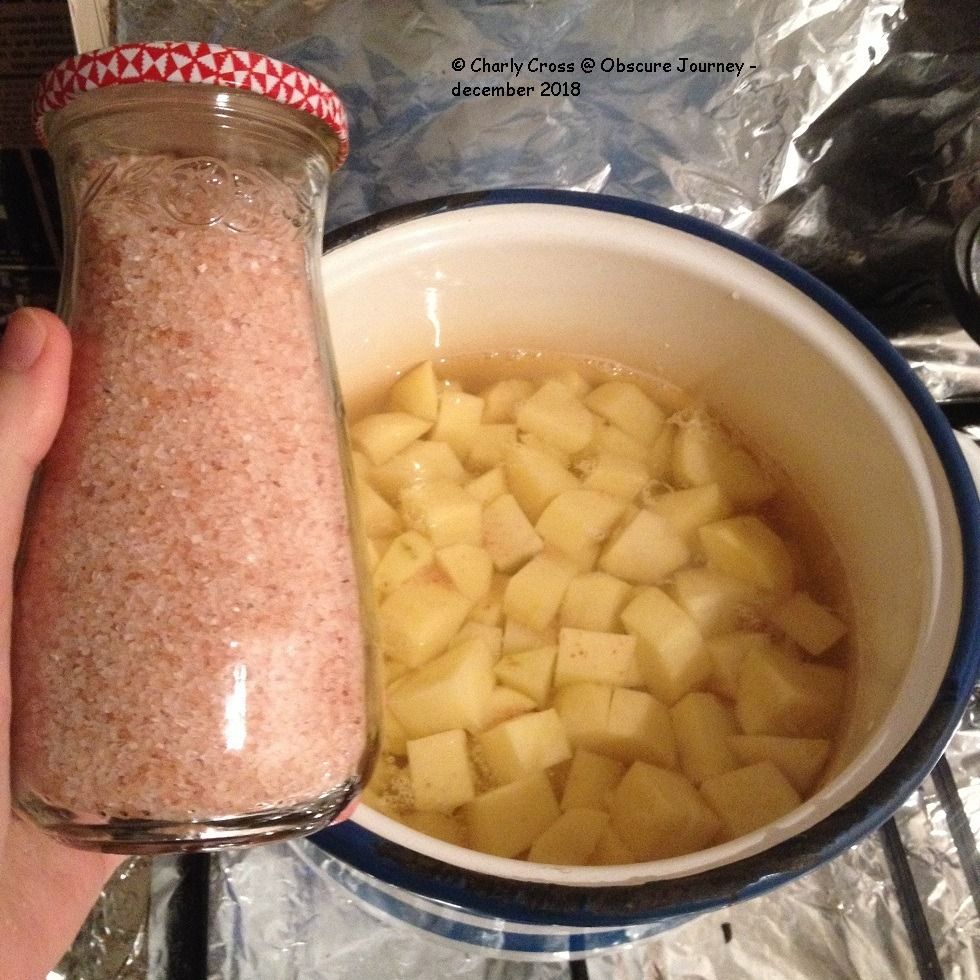
  • some salt 
  • some ground black pepper
Mac&Cheese recipeMac&Cheese recipeMac&Cheese recipe

METHOD

Boil water with some salt, and add the pasta. Let it boil according the instructions on the package - usually some 10 minutes. 

Dice the butter and shred the cheese. This way, the butter will melt faster. 
When the time is up, drain the water, add the butter and the cheese and mix.

mac and cheese

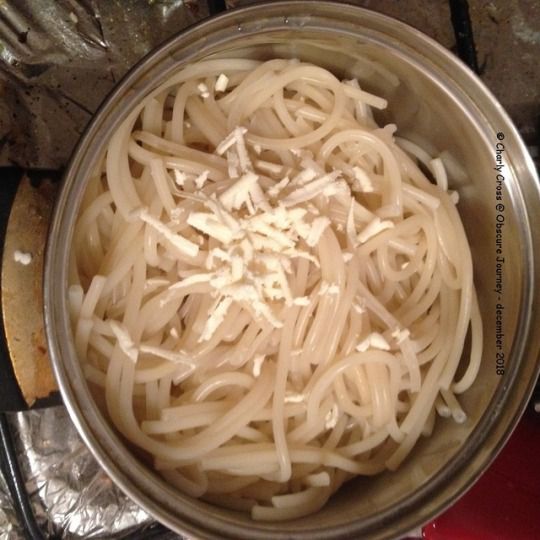
Let everything in the pot, on the fire for 2 extra minutes, then turn off the fire. 

When the time is up, add the black pepper on top. You can eat it right away, but better wait some 5 to 10 minutes so it will cool down a bit, with a lid on top. 

mac&cheese recipe

Let me tell you that this was the best pasta I had in a very long time. This is why I decided to share this recipe with all of you. Also, if you never tried Mac and Cheese before, this is a great chance to try it out. I know some folks prefer to make recipes that have been cooked by others before, and that were successful. 

Mac&Cheese recipe

Earlier I mentioned I used the cheese telemea. It's a Romanian cheese similar to feta, if I'm not mistaken. You're better off learning more about it from its Wiki page. It's usually salty or very salty, though less salty varieties have been made too. Nowadays, most telemea cheese on the market is made of cows milk, probably because it's easier to come by. 

© Charly Cross 2013 - present. All rights reserved.

Voir les commentaires

Oriental salad - Romanian version

Publié le par Charly C.

I haven't posted a recipe in a very long time, i believe. I think it's time I shared something - a salad this time! It's easy to make, pretty good for the upcoming holidays, delicious in my opinion, and is also vegan friendly! 

Well, ok, what I'll share is not vegan friendly because I used eggs, BUT keep the eggs out and you can safely enjoy it! If you're wondering why I had to specify this is a Romanian version of the salad, is because Google showed me a different type of salad when I searched for the name of this dish. 

I'm not exactly sure what's the story behind this salad, all I know is that it's pretty easy to make, and that it's never enough. 

Oriental salad - Romanian version

INGREDIENTS:

  • 1 kg potatoes
  • 200 g black olives (for color; use seedless ones)
  • 200 g pickles
  • 1 red bell pepper
  • 2 eggs (you can skip them for a vegan salad)
  • aromatic herbs  - parsley (fresh or dry), dill (i skipped it)
  • some salt and ground black pepper
  • oil and vinegar

This is the list of ingredients for a basic salad I found on a Romanian website. I know some people add more stuff in this salad. One of the most common ingredients is sliced onion, but you must know we don't eat it. Other ingredients I noticed were shredded cabbage, raw cucumbers (along the pickled ones), and pickled beet, and the salad becomes a bit pinkish. 

Do not add any type of meat in this salad, because then you'll make something else. 

Oriental salad - Romanian versionOriental salad - Romanian version

METHOD

Start by peeling and dicing the potatoes. Then throw them in a pot with water, and place on medium heat. Don't forget to add some salt - I used some pink salt, not that it really matters, but we were curious. I boiled the potatoes for some 30 minutes, but I don't think I had 1 kg.

The next step is to slice or dice the rest of the ingredients, including the olives and eggs. Don't forget about the other ingredients you want to add. 

Next, when the potatoes are done, rinse them with some cold water, and mix them with the ingredients. Of course,don't forget to add oil, vinegar, salt, pepper, and the herbs. 

Oriental salad - Romanian version

Look at those vibrant colors! This salad is eaten usually by itself or sometimes maybe with steak or chicken. There's no need for bread when eating this dish. You might need to eat other dishes before or after it to feel completely full. 

I hope you like it if you make it!

© Charly Cross 2013 - present. All rights reserved.


Voir les commentaires

I embroidered my jeans jacket

Publié le par Charly C.

As you already know I like doing things with my hands. I like coloring, or I like "improving" my clothes like I did these pants

The jacket I decided to embroider is off white, and from H&M, but from at least 2 years back. I doubt you'll still find it - when i bought it, it was sales season. I also haven't seen anything similar anymore. This jacket is pretty long, as it reaches below my butt. Its fabric also feels sturdy, and doesn't really let the wind through. I wish it had a hoodie - maybe I can MAKE one in the future? LOL. 

So the jacket has 4 large pockets on the front. The 2 on the chest have a flap, while the ones on the lower part have a bit of a different shape. I thought the jacket looks too plain and that I needed to do something to cheer it up, give it a bit of a fresh air. What better way to do this if not with some embroidery? And not just any type of embroidery, but specifically Romanian.

I embroidered my jeans jacket

So i searched for something in the book with Romanian embroidery I own and I also searched online. And I found the above design, completely black, originating from the Moldova area. 

I can only remember finding it on a Romanian online book store, and they were showing pictures of a few pages from inside the books they had listed. And U copied the model on paper. 

I embroidered my jeans jacket

I had no idea to start to embroider the design. It looks easy enough, especially if only one color is used. Another problem was the fabric as it is woven, but it uses a special type of weaving that makes it hard to count the threads. And if there's one thing to know about Romanian embroidery, is that it counts the threads in order to make a pretty, even design.

I decided to put the paper on the pocket, and to proceed with sewing through the paper. I didn't want to break the paper, at first, but i really had no idea or indication anywhere, on how to do it. 

As you can tell from the image above, it worked pretty well. Except for when i was done,and i had to break the paper. Can you guess what happened? The thread was loose. If you'll look carefully at the next 2 pictures, you'll see what I mean.

I embroidered my jeans jacket

Since I already embroidered one pocket, I had a better idea on how to proceed with the design, on the next ones. I didn't take pictures, but I'll try my best to explain if you want to reproduce it - but please give credit to the Romanian people.

If you'll use a fabric on which counting the threads is easy, it's even better. You basically need a 20 * 20 grid, as there are 20 rows and 20 columns.

If you use 2 colors:

Start with any of the red squares, but not the middle one. You embroider 2 rows of 2 crosses, then jump to the design in the corner that would be above it, and embroider in the same direction. When done, jump to another square, then another corner, then another square, then the 3rd corner, another square, then the one in the middle, and then the last corner.

You'd have to turn the fabric almost with each jump from the corner to the square. A lot of turning would happen when working on the second color as well. 

If you look closely, you'll notice 2 rectangles that intersect one another. I found it easier to work on them if I stat with the longer section, then the edge, then the shorter section, then jump to the next longer section, and so on. 

   the final look :)

the final look :)

If you use a single color:

I suppose that for when embroidering in a single color, the design would be easier, since you'd have to work on rows. I didn't want to work it all in black because I thought it would look too austere in a way. 

As you can see, i managed to finish the embroidery. It was pretty easy too, once I got used to it. But of course I also cheated a little bit. With the design copied on a different paper, i poked holes with a pencil, to mark the fabric with a visual guide. 

I didn't cheat perfectly, as you can probably tell. The crosses are not all the same size and are not perfectly aligned either. It took me 4 days in total to complete, with just a few hours per day. I'm pretty happy with the design, i think it's cute and cheerful, and that it looks quite authentic. I have nothing to compare it to, so i'll just stop here.

See you guys!

© Charly Cross 2013 - present. All rights reserved.

Voir les commentaires