Hello world~~~
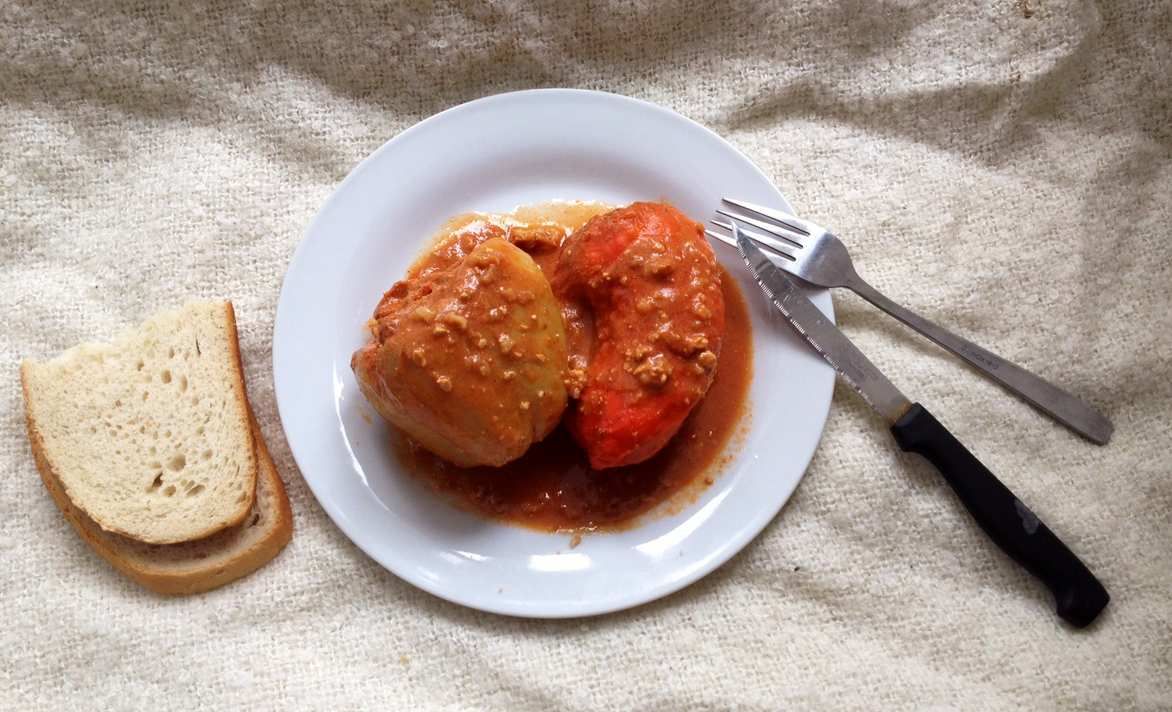
Today's dinner will be "refilled bell peppers" with pork, carrots, and rice. People here love this dish, and so do I. This recipe calls for cooking both on medium heat and in the oven. It can be done all in the oven too, if you prefer. ;) This is a main dish, and I actually forgot what you can eat it with. Maybe a tomato salad, some yogurt or sour cream. You might want bread too, if you're a fan. The dish can be served warm or cold, depending on when you serve it. Sometimes these peppers taste better cold, or the next day if the person cooking them is really talented. If you ask me, this dish doesn't really need other side dishes.
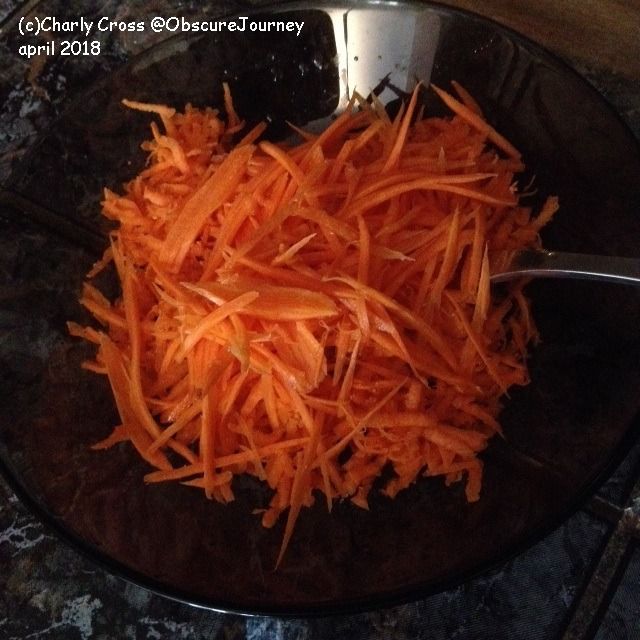
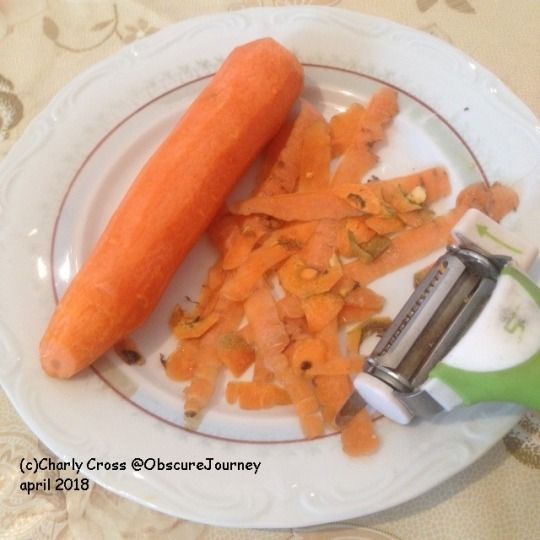
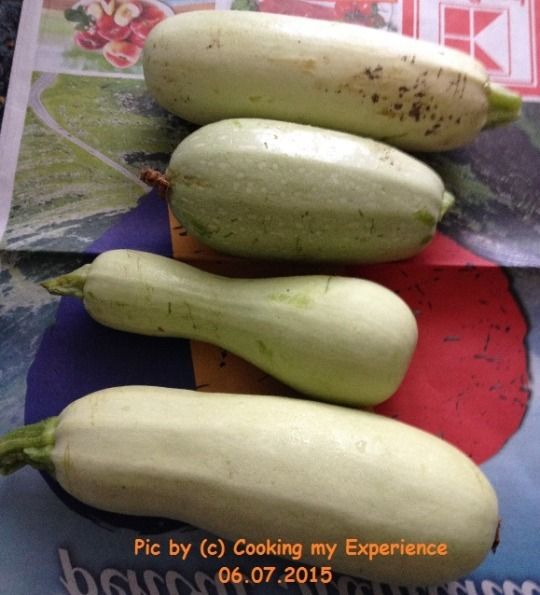
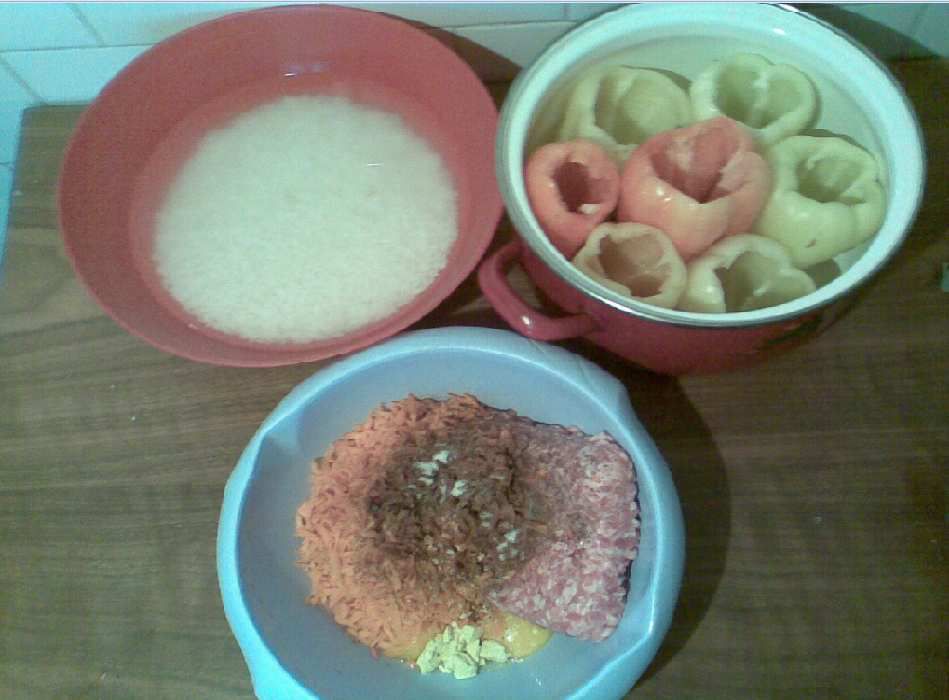
Most main dishes use onions and (or) garlic, but I am allergic to them, so I used shredded carrots instead of onions. I hope the dish still tastes good. I had 10 bell peppers in total, but I only managed to use 7. That's how many fit in my pot, and not all of them had the same size. I broke 1 pepper and I didn't use it anymore for this dish, but I will use it for a sandwich, or some other dish. I will give you the quantities I used, and I want to mention before hand that I have some left overs I placed in the freezer for a future batch. You need a tall enough pot in so the peppers would stand on their tips. I used pork meat, but you can use a mixture of pork and beef, or just beef. I think beef will cook for longer, though, I'm not sure.
INGREDIENTS
- 500 g pork meat. [1 pound?]
- 500 g uncooked rice [1 pound?]
- 2 long carrots
- condiments: black pepper, salt, paprika,
- thick tomato sauce
- 2 eggs
- 200 g sour cream [tastes better than yogurt]
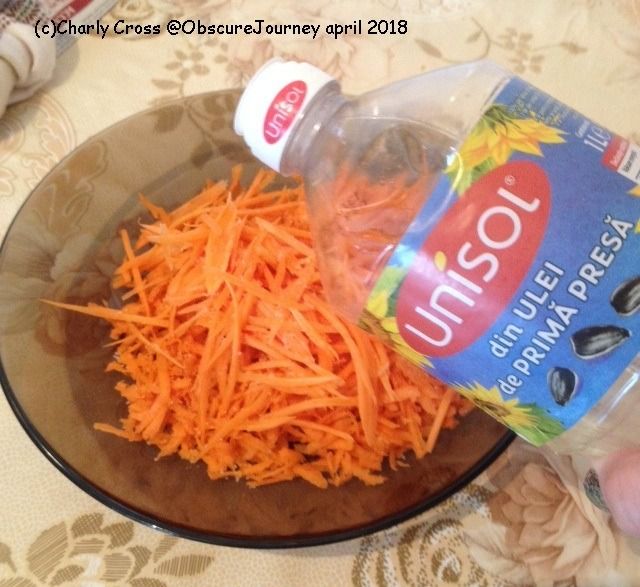
- 3 table spoons of cooking oil [I used sunflower oil, the most commonly found and used here]
- bell peppers [7 or more]
METHOD
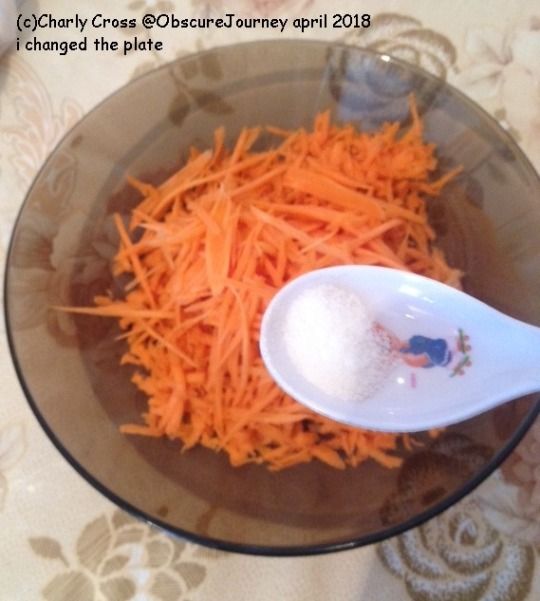
First, wash the rice, and leave it in some water until you're ready to mix it. Peel and shred the carrots. Now, remove the core with seeds from the peppers, and wash the peppers. Make sure you don't break them. It is time to mix the meat, condiments, eggs, shredded carrots, 2 spoons of tomato sauce, and rice.
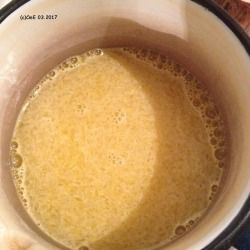
soaking rice, counted peppers, and the filling before mixing everything
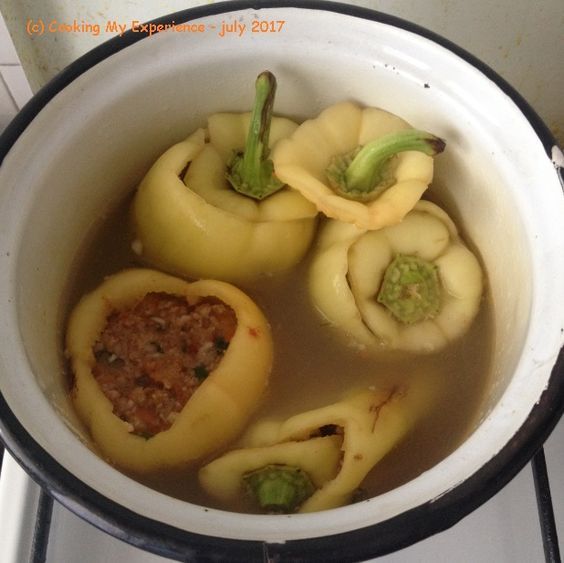
With a spoon fill each of the peppers, but leave some empty space at the top as the rice will swell up. Place the filled peppers in the pot, with the opening up. Fill with water to cover them, and place on medium heat for an hour. I think you need medium heat, as I used low heat and things were going nowhere.
While the peppers boil, mix the sour cream with some 4 tablespoons of tomato sauce, some salt, some black pepper, the oil, and some water.
When boiling time is up, your pot is supposed to be half full with water. I had a lid over my pot and the water level never went down. This turned out to be a good things though, as I used some of the water in the sour cream and tomato sauce mixture. ;) The mixture has to be rather liquid, like tomato juice.
i edited this entry in july 2017, when i re-cooked this
When putting the sauce mixture over the peppers, make sure you cover them as well. Place the pot in the oven for 20 minutes. I stopped the fire in the oven after 25 minutes, and then I left the pot in there as it wasn't yet dinner time.
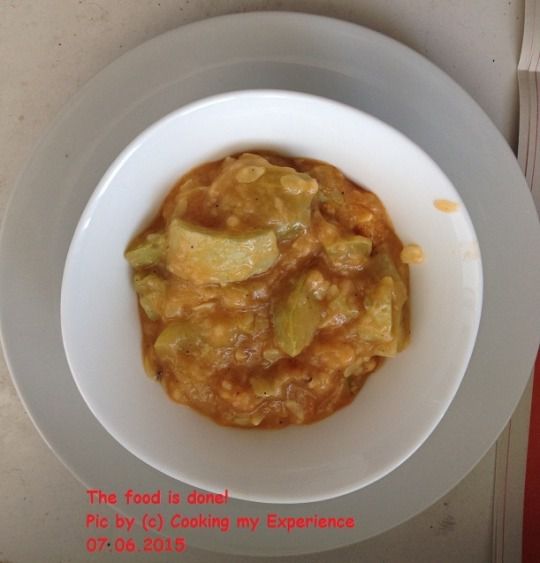
my leftovers before freezing time. can you tell I forgot to put tomato sauce in the mixture? hahaha.
Some notes:
This recipe can be altered for those who do not eat meat, by replacing all the meat with rice or soy. It is best to use some sort of lid for the peppers after filling them, so there will be no leak. You can use slices of tomatoes, potatoes, or pieces of peppers, like I did.
You might have figured out by now, that broken peppers may leak or break further, and you don't want that. Depending on the size of the peppers and number of people at the table, the serving size is 1 or 2 peppers per person. Use at least 2 table spoons of sour cream or yogurt on each pepper after you place them on the plates.
The same filling can be used for refilled zucchini or refilled tomatoes.
Please leave your questions in the comments below.Bon Apetit~~~
© Charly Cross 2013 - present. All rights reserved.


/image%2F2671538%2F20210419%2Fob_819872_img-0313.JPG)


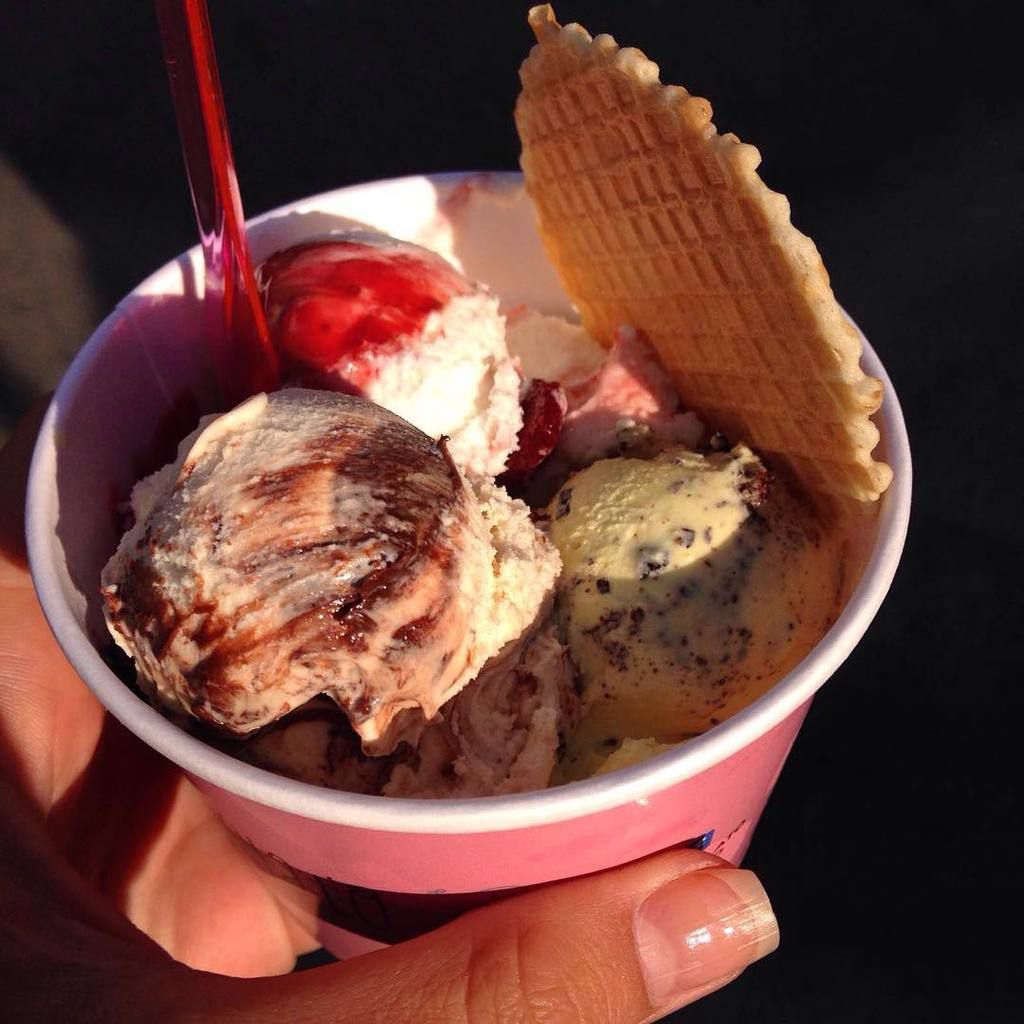
![salty caramel icecream [my picture - that's the former name of the blog]](https://img.over-blog-kiwi.com/2/67/15/38/20180216/ob_9220e1_tumblr-otz1k8uoch1u8vlf0o1-540.jpg)
![[my picture - that's the former name of the blog]](https://img.over-blog-kiwi.com/2/67/15/38/20180216/ob_d4cdbb_tumblr-oo3a0ghu501u8vlf0o1-1280.jpg)


/image%2F2671538%2F20180226%2Fob_f9c4d6_charly.png)