

/image%2F2671538%2F20210419%2Fob_819872_img-0313.JPG)
Changing a jacket' sleeves
Hello all!
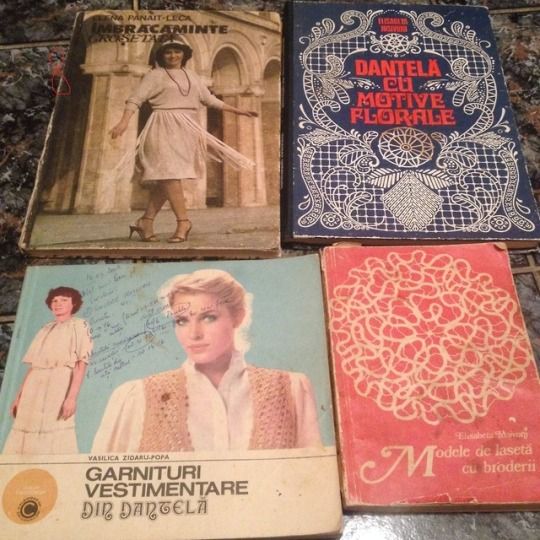
I had a thin Zara jacket with faux leather sleeves. I bought it several years back during the summer sales, if I'm not mistaken. But as it goes, faux leather started peeling and I don't like that. I don't know who likes peeling leatherette, to be honest. So, I thought to myself that I won't be wearing the jacket anymore though I could try to change its sleeves now that I have some good fabric shears and a decent sewing machine. I also have a few books that teach how to make sleeves and attach them to the garment. The only downside was that I would be ruining the pretty (and very cheap) fabric A got me (from a second hand store. It was there because someone cut it twice on bias, and it probably wasn't enough for their project.)
So, my thoughts were:
- I wanted to make something with the fabric
- I HAD to use it (the fabric) in the end, somehow
- the fabric was cheap - about $1 for a yard or so? I didn't measure it, sadly.
- I wasn't going to wear the jacket anymore
- I would be learning something
- I received encouragement to "just go for it!"
I don't think I needed more excuses. So I started with ripping the seams apart because I wanted to use the existing sleeve as pattern for the new sleeve.
- the sizing was the right one, especially the arm-hole
- the length was ok - i could always cut a few extra cm if needed, which I did anyway.
- I wasn't in the mood to learn how to make a sleeve pattern from scratch. That day will come, but it wasn't this day.
Sadly, I don't have pictures for all the steps :( I thought of taking pictures when it was too late. Some steps don't even need pictures because anyone can do those with the right tool.
the process
I started by removing the sleeves from the body of the jacket using the seam ripper. My sleeves also had zippers, so I also removed those after.
Once I had my sleeves, I took one and I placed it flat on some newspaper to make a sleeve pattern, so I can cut the new sleeve from some fabric. I placed the fabric folded over. When I cut the fabric, I included more seam allowance vertically, but not for the width.

I didn' like what the fabric felt against the skin, as I knew I would wear this jacket over a tshirt as well. This meant I had to find some fabric to make a lining. The fabric I found is brown and ugly, but serves the purpose just fine.

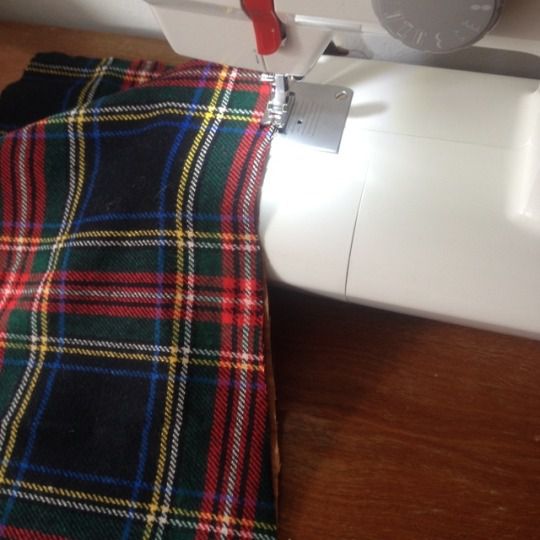
You can't really tell from the picture, but first I sew the sleeve to the lining (former sleep wear i believe) at the wrist-end. I then pinned down the sleeve to the rest of the fabric, and then I cut the lining. (note 1)
I also sew the lining to the tartan, before assembling the sleeve together. I figured that shiny and slippery fabric would be difficult to work with if it's not attached. I also ran a zig-zag stitch. (note 2)

Originally, the previous sleeves did have lining as well. I couldn't use it though. The seam allowance was fraying badly. Additionally it was shorter, because the leatherette was folded over some, like the sleeves on suits and coats.
As I said, I wasn't going to learn how to make such sleeves. This means that the brown lining can be seen at the wrist level, on my sleeves. It also looked ugly. I decided to run a top stitch to see if it looks any better, and it did! See the picture below.
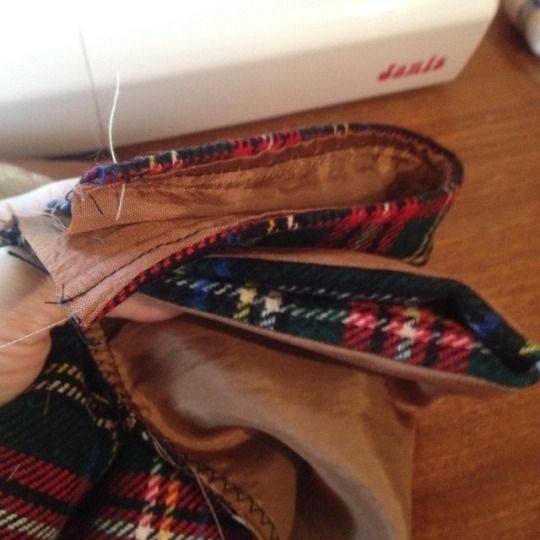
If you do a sleeve like I did here, I highly recommend you do the same. In my opinion, the piece looks 'done more professionally.' You can do this top stitch AFTER sewing the sleeve, so that the seams would lay flat against your wrist, and rub less. If I ever do this again, I'll know what I need to improve :)
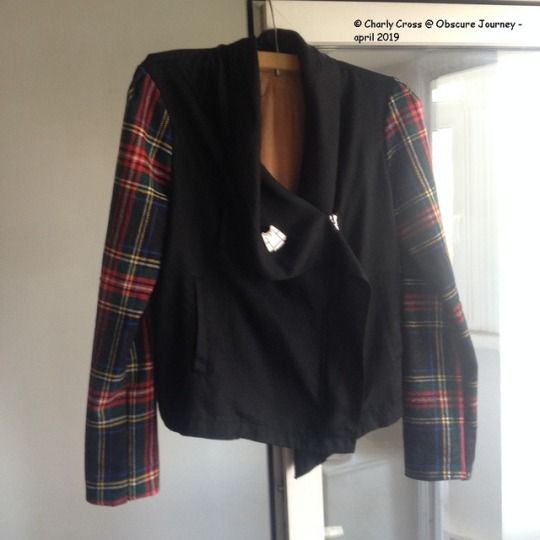
After my sleeves were complete, it was time I attached them to the body of the jacket. The sleeves I made were a bit larger than the arm holes of the jacket. I started pinning the sleeves starting at the armpit seams going to the top. At the shoulder part, I needed to create 2 pleats. Gathering the fabric is an option, but not for this lined tartan. The pleats give the sleeves a more structured, put-together, "professionally done" look, in my opinion.
And this is the final result! What do you think?
extra step
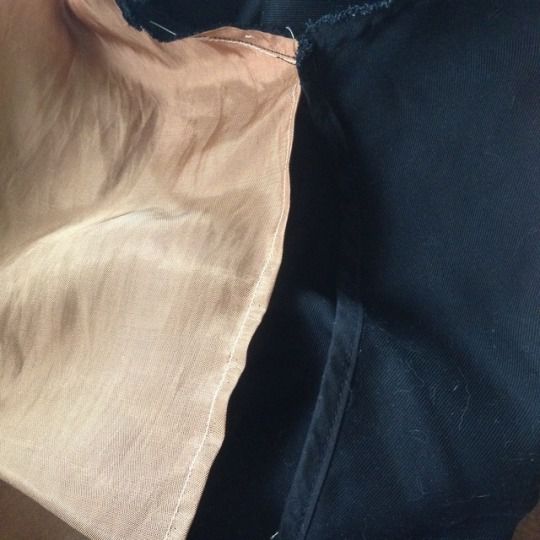
However, before attaching the sleeves, I decided I wanted some lining for the back part of the jacket as well. I used the same ugly brown one as for the sleeves. The jacket is very thin, and the spring was cold this year. I wanted some protection from the wind, and the lining would provide just that.
I used the back of the jacket to serve as guide for a pattern, drew it on paper, cut the brown fabric, and sew it onto the seams of the jacket. I don't have more pictures, sorry. :(
That's about it! Don't skip reading the notes below to learn what I wish I did differently.
See you soon!
Note 1: The funny thing is that while I tried to sew the right side of the tartan fabric to the lining, i only managed with one sleeve. The other one, the tartan is on the wrong-side. I obviously saw too late. I didn't and won't go back to fix it.
Note 2: I wish I assembled the tartan first into a sleeve, then the lining, and then attach the tartan to the lining at the wrist. I thought of this too late.
Note 3: This project is from April 2019. I didn't get to watermark the images. Now with my arm in a cast, doing so is more difficult.
© Charly Cross 2013 - present. All rights reserved.


/image%2F2671538%2F20180226%2Fob_f9c4d6_charly.png)